How to Add Subtitles to a Video (SRT and Burned In)
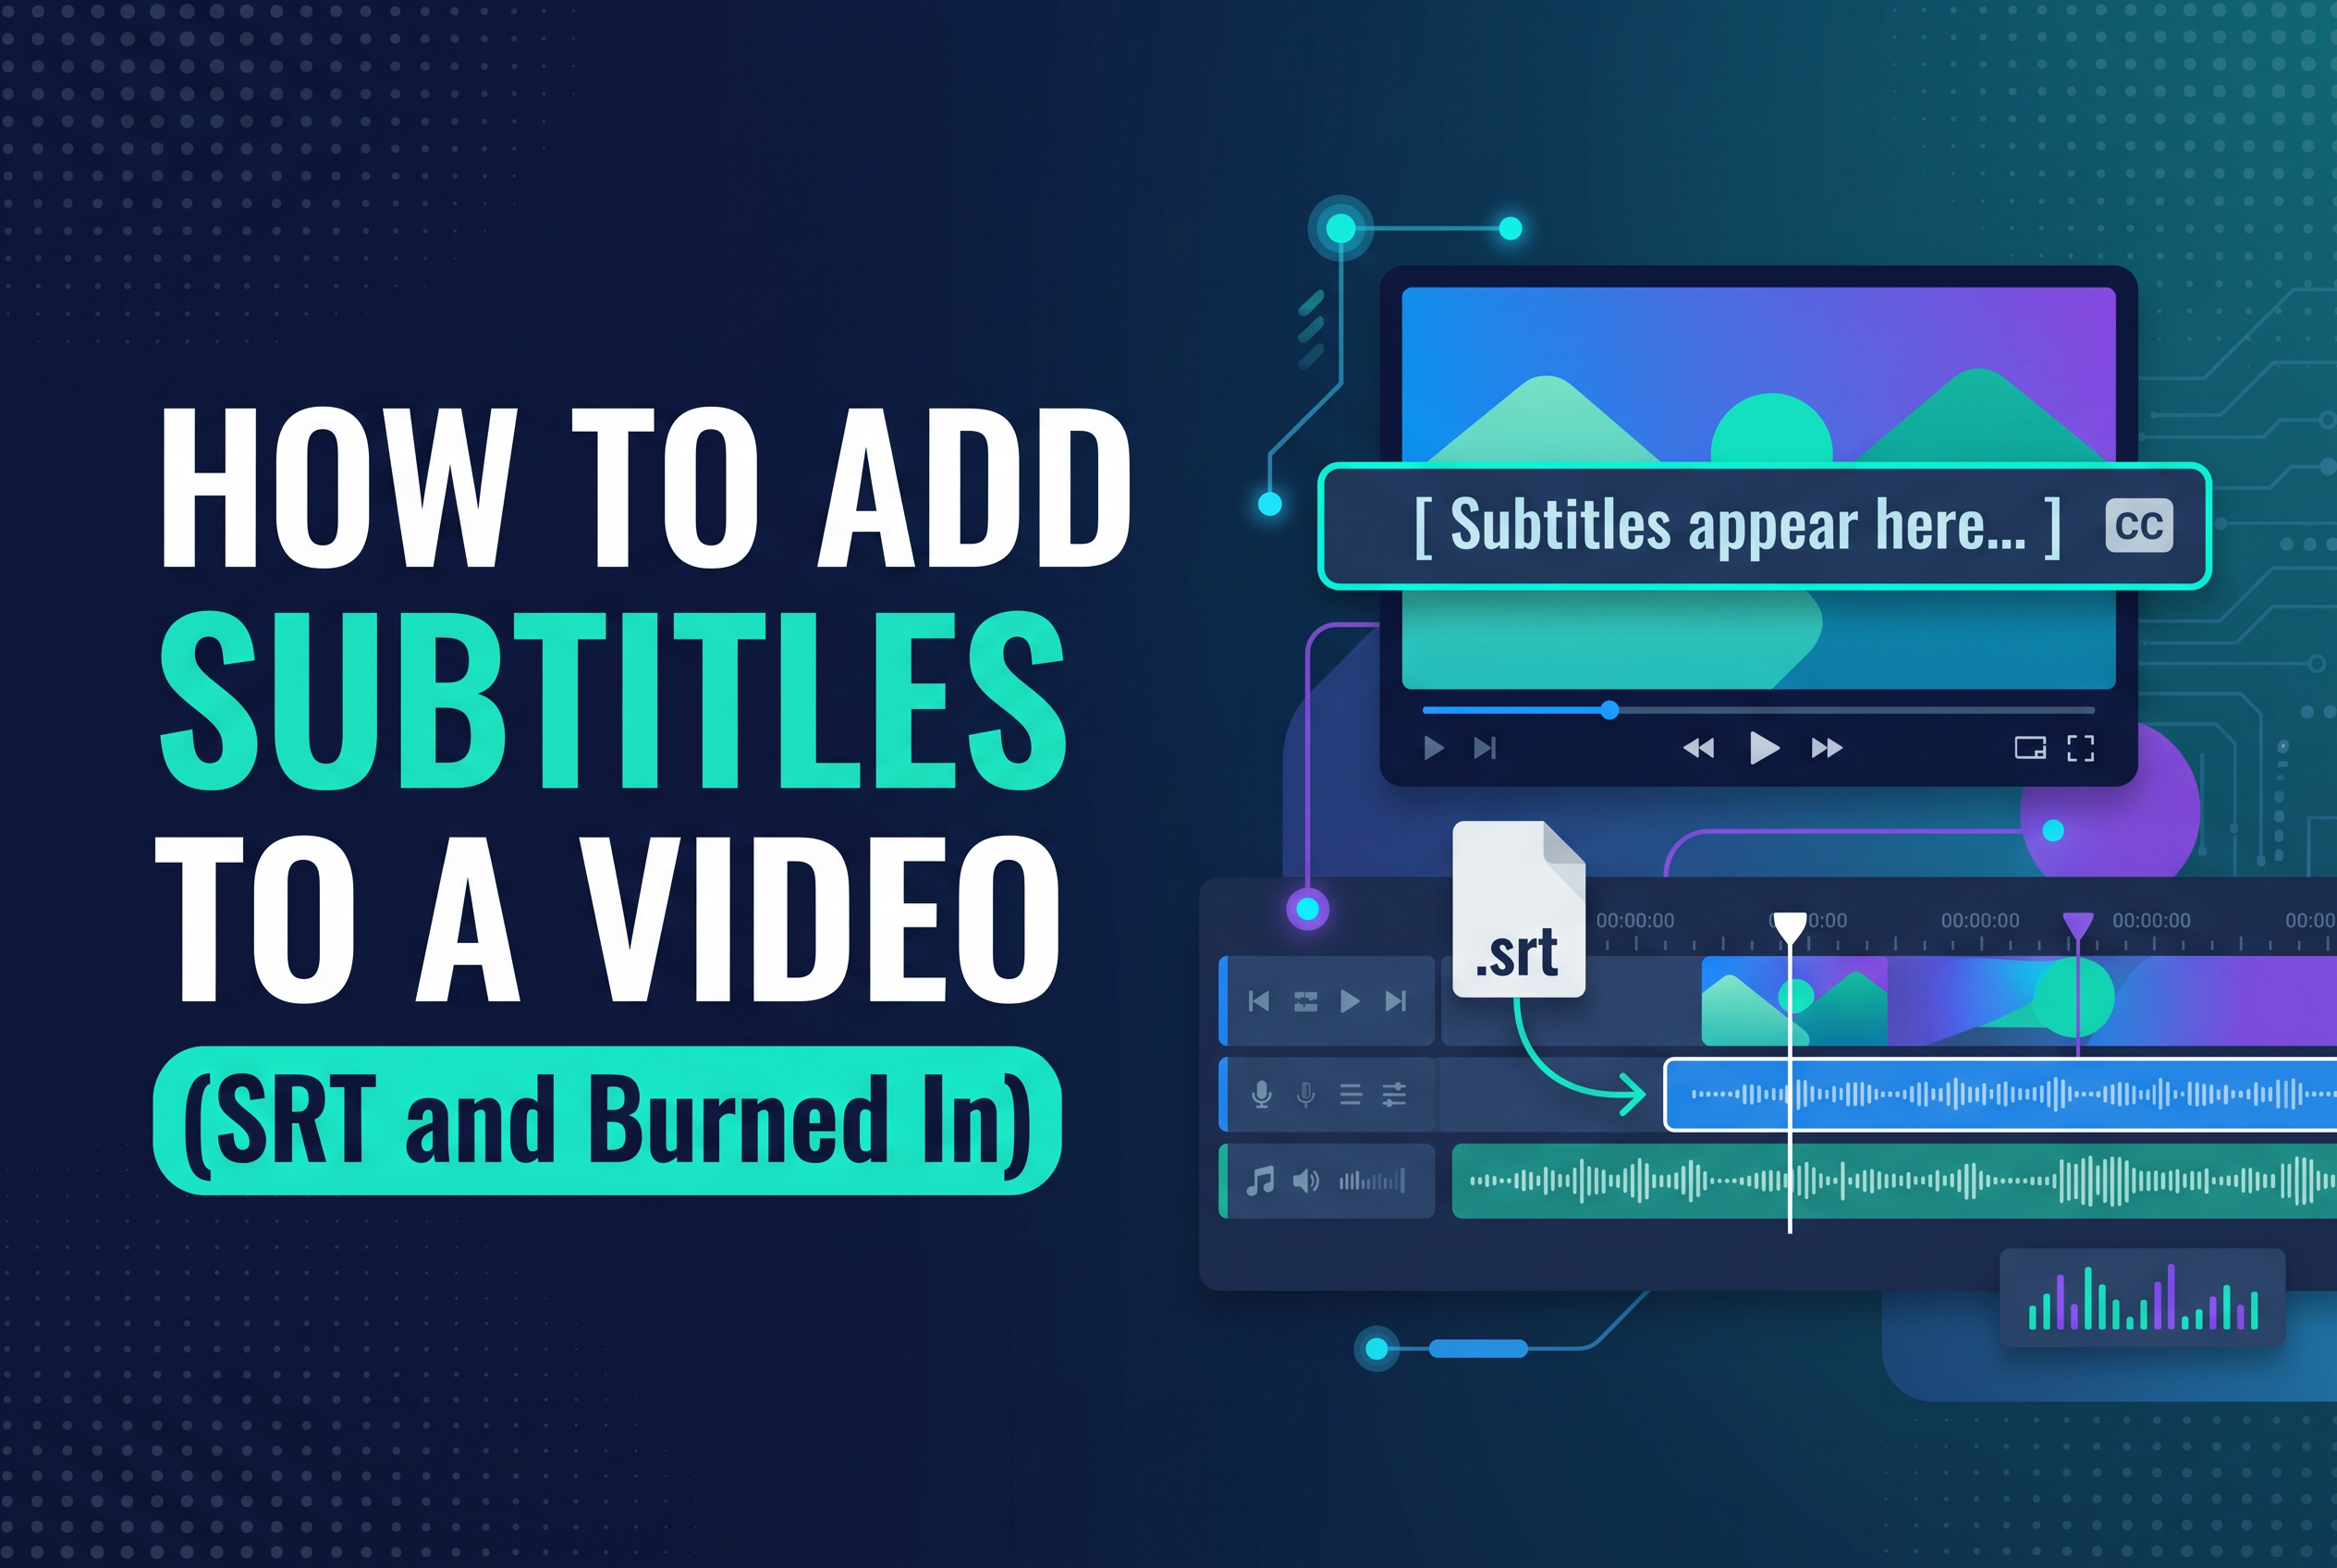
To add subtitles to a video, you either upload a separate SRT file that the platform shows as an optional caption track, or you burn the text into the video so it is always visible. Which one you need depends on where you post. TikTok allows SRT caption-file uploads before posting; Instagram does not. YouTube, Facebook, and LinkedIn also accept SRT files. Burning subtitles in is an option for Instagram, not a requirement for both platforms.
Most confusion comes from people using "subtitles" for both. They behave very differently, and picking the wrong one means captions nobody can see or captions nobody can switch off. This guide separates the two, then covers auto-generating subtitles, uploading an SRT, burning text in, making subtitles by hand, the free routes, and a transcript-first workflow on iPhone and iPad.
SRT file or burned-in subtitles: which one do you need?
You need an SRT file if the platform supports it and you want viewers to be able to switch subtitles on and off. You need burned-in subtitles if the platform has no SRT upload or you want the text to show for every viewer, always.
An SRT is a separate timed text file. The platform displays it as an optional caption track, so viewers can usually turn it on or off, and you can correct it later without re-exporting the video. Burned-in (open) captions are rendered into the picture. They cannot be switched off, restyled or corrected separately.
| Platform | SRT upload? |
|---|---|
| YouTube | Yes |
| Yes | |
| Yes | |
| No, use its caption tools or burn the text in | |
| TikTok | No, use its caption tools or burn the text in |
If you post the same video everywhere, do both. Upload the SRT where it is supported, and keep a burned-in version for Instagram and TikTok. You can also burn text into a video for a platform that accepts SRT, if you want captions to stay visible and still keep an optional track.
How to add subtitles to a video that has none (auto-generate, then correct)
The fastest way to add subtitles to a video that has none is to auto-generate a transcript, then correct it by hand. Never publish the raw output.
The workflow is the same in almost every tool. Upload or import the video, let the tool transcribe the speech, then read the whole thing while the video plays. Fix names, brand terms, place names and anything spoken quickly. Automatic transcription is usually good on clear speech and weaker on accents, jargon and background noise. The proofreading pass is where the quality comes from.
Then choose your output. For YouTube, Facebook or LinkedIn, export an SRT and upload it. For Instagram or TikTok, export the video with the text burned in. Do the correction before you export either, so you fix the words once rather than twice.
How to put an SRT subtitle file into a video (YouTube, Facebook, LinkedIn and desktop players)
To put an SRT file into a video, upload it to the platform's subtitle or caption settings for that video, or load it alongside the video in a desktop player. The SRT stays separate from the video file.
On YouTube, Facebook and LinkedIn, open the video's caption or subtitle settings, choose to upload a file, select your SRT and set the language. Check the timing in the preview before you publish. A common fault is subtitles drifting out of sync, which usually means the SRT was made from a version of the video that was later trimmed.
In desktop players, give the SRT the same file name as the video and keep both in the same folder, then switch subtitles on in the player's menu. If your player does not pick it up automatically, load the subtitle file manually from the same menu.
If you would rather bake the text in permanently, skip to the burned-in section below.
How to burn subtitles into a video for Instagram and TikTok
To burn subtitles into a video, use an editor that renders the caption text onto the picture during export, then post that exported file. Instagram and TikTok do not take SRT uploads, so this is the dependable route.
Three things matter here. First, style for a phone screen: large, high-contrast text, a few words at a time. Second, mind the safe area. Both platforms overlay buttons and captions near the bottom and right edge, so keep subtitles higher than you think. Third, correct the text before you export, because burned-in words cannot be edited afterwards. A typo means re-exporting the whole video.
If you edit on a phone, our guide to adding captions to iPhone video covers the on-device options in more detail, and the fastest way to edit TikToks on your phone covers the wider workflow.
How to make subtitles manually, and can ChatGPT help?
You can make subtitles manually by writing an SRT file in any plain text editor. ChatGPT can help format the text, but it cannot reliably invent the timings.
An SRT cue has four parts: a sequence number, a start and end timestamp in hours:minutes:seconds,milliseconds, the subtitle text, and a blank line before the next cue.
1
00:00:01,200 --> 00:00:03,500
Your subtitle text goes here.

2
00:00:03,600 --> 00:00:05,900
The next subtitle goes here.
Save it as a .srt file with UTF-8 encoding and upload it.
On ChatGPT: yes, it can turn a transcript into SRT-formatted text, especially if you supply accurate start and end times. A plain transcript has no reliable timing, so any timestamps it makes up are estimates and need checking against the video. A prompt that works: "Format this transcript as SRT. Keep the supplied timestamps unchanged, split captions into short readable cues, and return only valid SRT text." Treat it as a formatting helper, not a timing engine.
Manual subtitling is fine for a 30-second clip. For a 20-minute episode, it is a long afternoon.
How to add subtitles for free (and where free tools run out)
You can add subtitles to a video for free with the caption tools built into the platforms, free auto-captioning inside editing apps, or a hand-written SRT. The limits are usually length, export quality and how much correcting you do yourself.
The free routes, in order of effort:
Platform caption tools. You can use built-in upload options on platforms that support them, while Instagram and TikTok offer their own in-app captions, which stay inside that app.
Free editor tiers. Many editing apps offer automatic captions on a free plan, often with caps on length or export settings.
A manual SRT. Free, accurate if you are patient, and slow.
Free runs out on long videos, batch work, and anything where you need the same captions both as an SRT and burned in. Each tool tends to do one well. You also still have to proofread, because free auto-captions are rarely clean on names and jargon.
Where can you get subtitles for free for someone else's video? Check whether the platform already offers captions or a transcript, and only use another creator's subtitles if you have their permission.
Editing the transcript first: how Cutscript fits on iPhone and iPad (coming soon, join the waitlist)
Cutscript is an iPhone and iPad app designed around editing the transcript directly. It is coming soon to the App Store and is not available to download yet. You can join the waitlist at sail.care/cutscript.
The idea is simple. Instead of scrubbing a timeline, you edit the video by editing the text. Delete a sentence in the transcript and it leaves the video. Cutscript also cuts filler words automatically, then adds captions, all on device. Everything runs on device.
Transcript-first helps with subtitles because you fix the words once, before they are timed and exported. That avoids the common trap of burning in text, spotting a typo, and re-exporting. It suits podcasters cutting clips and short-form creators who film on an iPhone. For the workflow in more depth, see editing video by editing text on iPhone, and removing filler words on iPhone for the clean-up step.
Other editors can add captions too, and some are worth a look. Cutscript vs CapCut for removing filler words compares one of the best known.
Subtitle checklist before you export
Before you export, check that the words are right, the timing is tight and the format matches the platform. Run this list every time.
Proofread against the audio. Names, brands, numbers and anything said fast.
Keep cues short. One or two short lines, a few words at a time on vertical video.
Check the timing. Subtitles should land with the speech, not drift behind it.
Pick the right format. SRT for YouTube, Facebook and LinkedIn. Burned in for Instagram and TikTok.
Mind the safe area. Keep burned-in text clear of buttons and overlays.
Make it readable. Large, high-contrast text that works with the sound off.
Keep the SRT. Even if you burn text in, keep the SRT file for other platforms and future edits.
Watch it once, muted. If it makes sense with no sound, it is ready.
Fix the words first, then choose SRT or burned in
The best way to add subtitles to video is to get the transcript right once, then export it in whichever form each platform needs: an SRT for YouTube, Facebook and LinkedIn, burned-in text for Instagram and TikTok. If you film on an iPhone or iPad and want to edit the transcript first, join the Cutscript waitlist at sail.care/cutscript and be ready for launch.